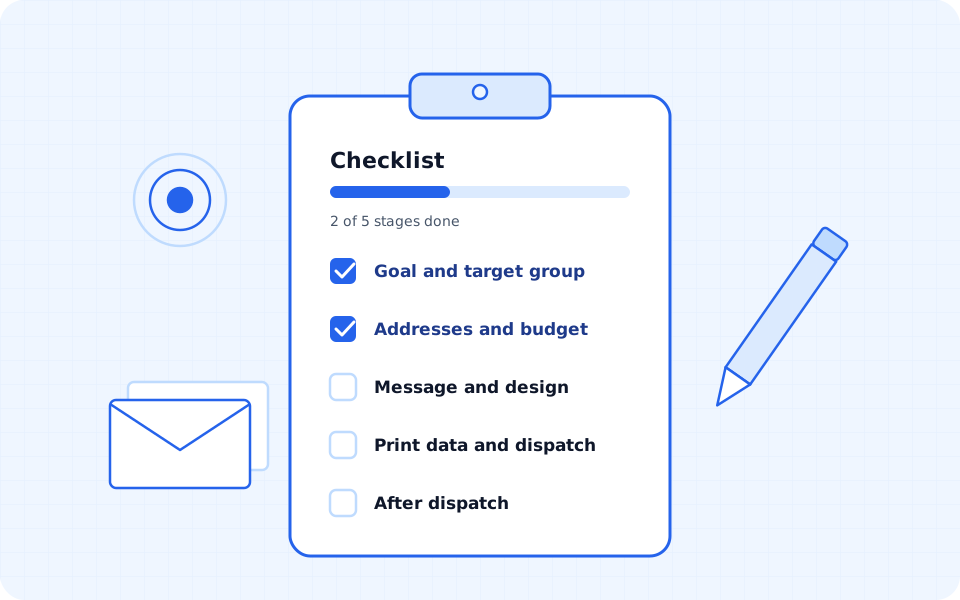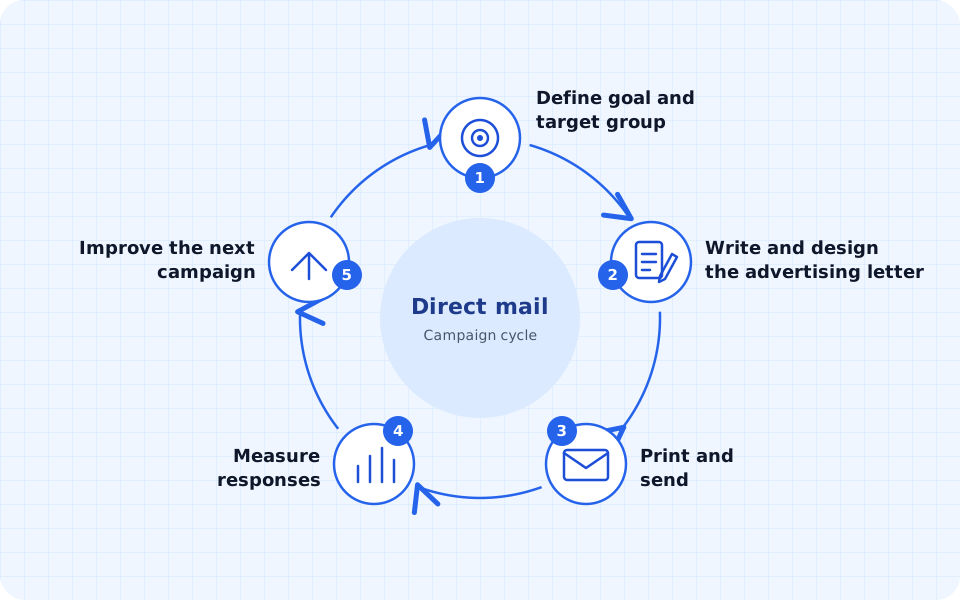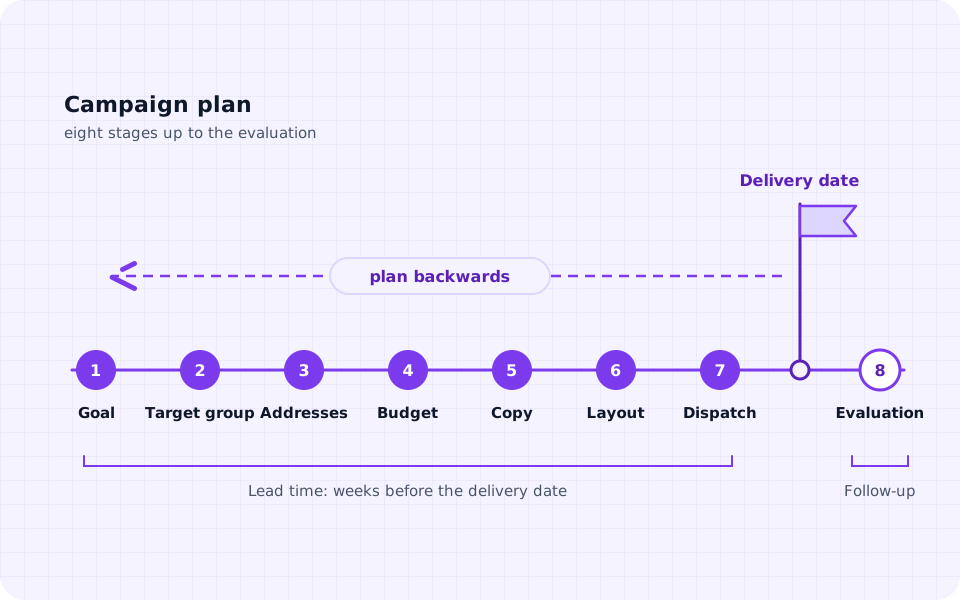
Planning a direct mail campaign is mostly about making decisions, and in the right order. If you design first and only then think about goal and recipients, you often end up rebuilding the letter. The eight steps below therefore build on each other: each one provides the basis for the next.
This guide suits any direct marketing campaign by letter, whether to existing customers or to new contacts. For each step you will find guiding questions and a short example. The examples are invented and only show how concrete a decision should be. Basics, advantages and formats are explained in the guide to direct mail.
Step 1: Define the goal and metric
It starts with one question: what should be different after the mailing than before? Possible goals are new customers, repeat purchases, appointment bookings, visits to the shop or the return of former customers. Choose one main goal. A letter that is supposed to sell, inform and invite at the same time usually achieves none of them properly.
Formulate the goal so that you can check it later:
- Specific: What exactly should the recipient do? Book an appointment, order in the shop, call back?
- Measurable: How do you count success? Define a main metric, such as the number of sales or the response rate.
- Realistic: Does the expectation match your previous experience and the size of the recipient list?
- Time-bound: Until what date do responses still count towards the campaign?
Example: An optician writes to customers whose last eye test was more than two years ago and invites them to a new appointment. The goal is booked eye tests up to six weeks after dispatch. The main metric is the number of appointments booked with the code from the letter.
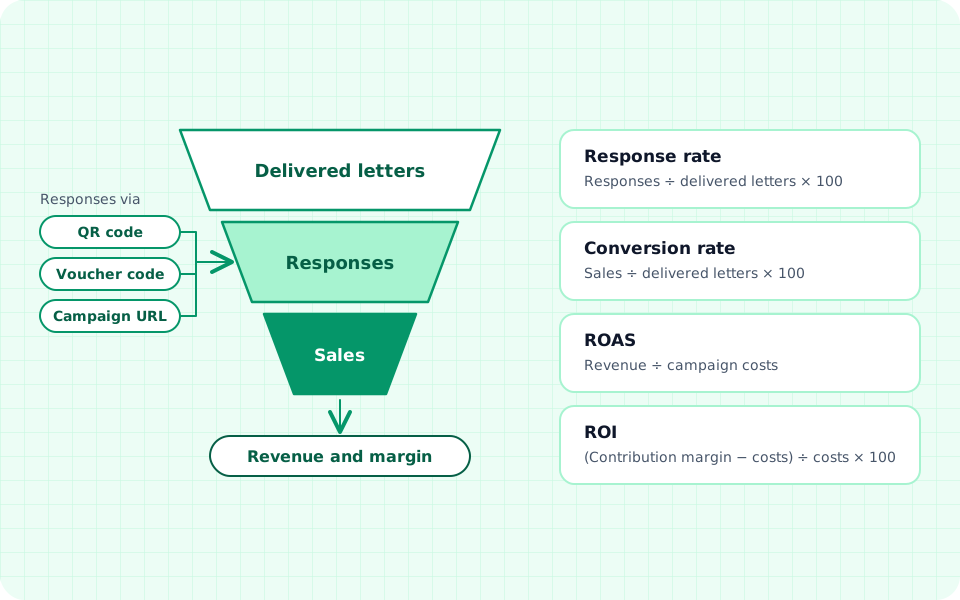
Define the metric now and not only after dispatch. It determines which codes, links or extensions belong in the letter. You will find formulas and tools for this in the guide Measuring direct mail success.
Step 2: Choose the target group
The goal determines whom you write to. Existing customers already know your offer. Former customers need a reason to come back, new customers first a reason to trust you. Each of these groups therefore needs its own approach, often its own offer too.
These guiding questions help with the selection:
- Who benefits most from exactly this offer?
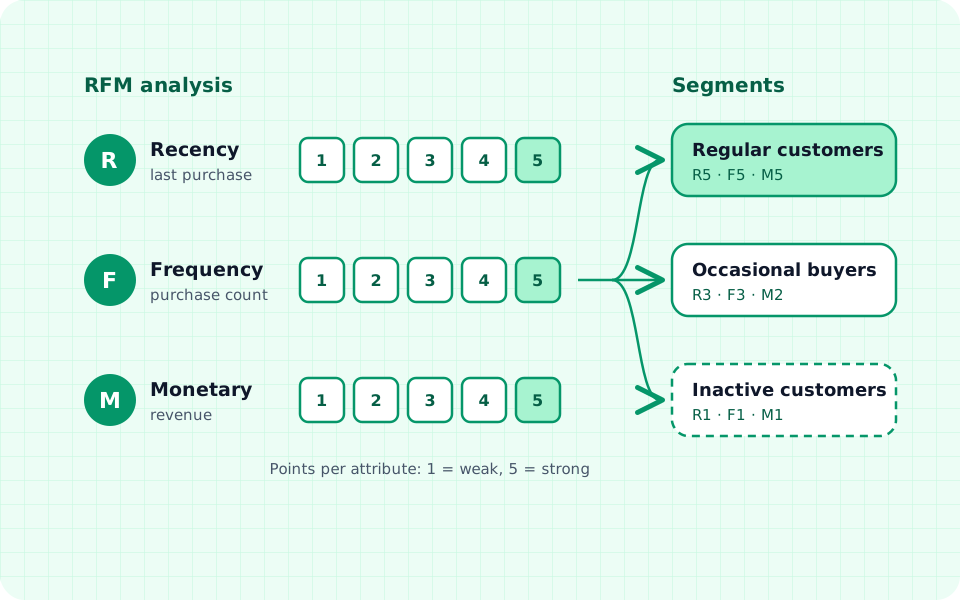
- Which attributes do you have in your data to select these recipients, such as last purchase, purchase frequency, revenue, region or industry?
- Who should expressly not receive a letter, for example customers with an open complaint or those who have only just bought?
- Do you want to compare two variants? Then plan two randomly formed groups now.
How to divide customers by buying behaviour and delimit target groups cleanly is shown in the guide Defining direct mail target groups.
Step 3: Prepare the address data
Plan a separate work step for the recipient list: clarify the source and whether it can be used, clean the data, match it against the suppression list and then export it as a CSV. Decide who checks the list and by when it must be approved. The specific checks for how up to date the addresses are, for spellings and for duplicates are described in Target groups and address quality.
The legal requirements for your own and third-party address databases are explained in Advertising by post and the GDPR. Clarify open questions before approval so that the recipient list does not have to be rebuilt afterwards.
Step 4: Set the budget
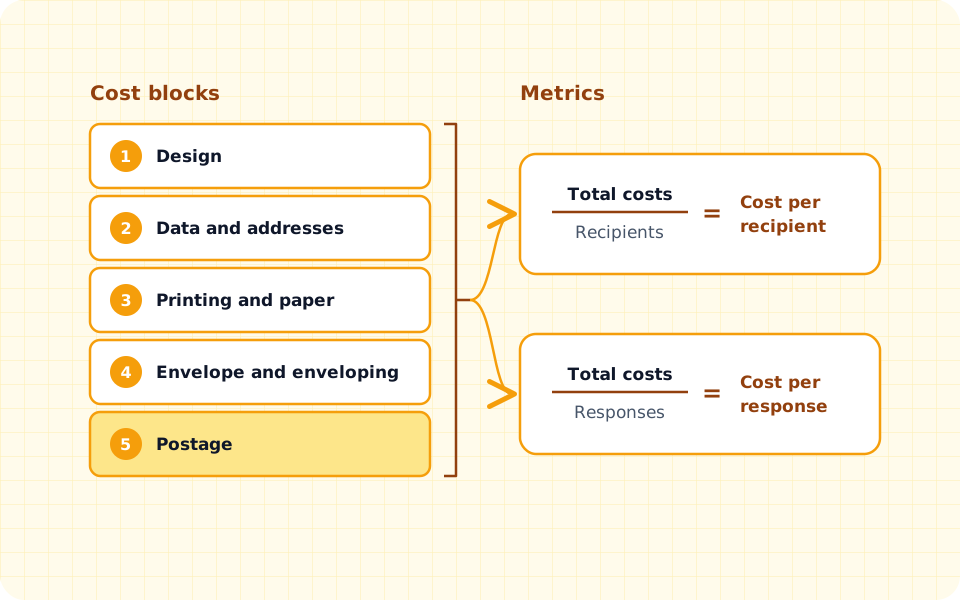
The budget answers two questions: what may the campaign cost, and what does it have to bring in to pay off? First collect all cost blocks:
- Dispatch: printing, envelope, postage and handover per letter, times the number of recipients.
- Copy and design: your own working time or a service provider’s invoice.
- Addresses: effort for maintenance and cleaning, and for third-party addresses the cost of using them.
- Offer: discounts, extras or vouchers that are actually redeemed.
- Follow-up: time for calls, queries, orders and the evaluation.
Include a reserve for the unforeseen, such as additional recipients or a second round of approvals. Then comes the most important calculation: how many sales does the campaign need to cover its costs? To work this out, divide the campaign costs by the contribution margin per sale, that is, by what is left after cost of goods and variable costs.
Worked example with assumed values: The campaign costs €1,500 in total. After deducting materials and working time, each order brings €60 contribution margin. €1,500 ÷ €60 = 25 orders. With the 25th order the costs are covered; only after that does the campaign earn money.
If this number is unrealistic for your recipient list, change the plan now: a smaller, better selected target group, a stronger offer or fewer pages. All cost blocks with worked examples are in the guide Direct mail costs.
Step 5: Develop the offer and copy
Only now is it about content. The letter needs an offer that suits the target group, a reason to act now and a clear instruction on what the reader should do.
- Offer: What exactly does the recipient get? A price advantage, a service, an invitation or information with real benefit.
- Deadline: Until when does the offer apply? Allow for delivery time and a few days to think it over. A deadline that has almost expired when the letter is opened is more likely to annoy.
- Call to action: One action takes centre stage, for example “Book an appointment at …”. Several equal calls to action make the reader hesitate.
- Response channel: phone number, campaign URL, QR code or voucher code, matching the metric from step 1.
Example: A bookshop invites regular customers to a reading. The offer is a reserved seat including a pre-order of the signed book, the deadline ends a week before the reading, and the call to action is: reserve a seat via the campaign URL.
How to word the subject line, opening, benefit arguments and PS is explained in the guide Writing an advertising letter. You will find ready-made samples to adapt under Advertising letter templates.
Step 6: Agree the design and test it
You agree copy and design together. Keep the page calm: few fonts, short paragraphs, enough white space and emphasis only where the reader should linger. The address must be positioned so that it appears in the window of the envelope.
Decide who approves and by when. The more people have a say, the more time approval takes. A short checklist helps everyone involved: spelling, prices and deadlines, contact details, codes and links, sender details. After that you test the complete process:
- Check the preview with real records, including long names, umlauts and company addresses.
- Run through the process in test mode. briefsenden never prints test letters, and they cost nothing.
- Send a real letter to your own address. That way you see colours, fold and window as the recipient does.
- Try out the QR code, campaign URL, voucher code and phone extension yourself.
Step 7: Choose the dispatch date and send
You determine the dispatch date from the delivery day. First think about when the letter should be in the recipient’s letterbox, then count backwards. Four points matter for the delivery period:
- Season and occasion: Does the date fit the offer? An offer for gardening work reads differently in spring than in November. Ideas spread across the year are collected in the guide Direct mail occasions.
- Holidays and public holidays: During school holidays and around public holidays many recipients are away or otherwise busy. Check the holidays of the federal states you send to.
- Your own capacity: Responses come in mainly in the days after delivery. Plan staff for phone, email and orders, and do not send shortly before your own holiday.
- Delivery time: Dialogpost is delivered in 3 to 5 working days. There is no guaranteed delivery time for standard letters either, so allow a buffer of a few working days.
With briefsenden, letters received before 4 pm go to Deutsche Post on the same working day. Even so, do not trigger dispatch at the last minute, but with a day to spare.
From 5,000 items per campaign you can send advertising letters as Dialogpost with briefsenden. For smaller print runs, send your advertising letter as a mail merge with a CSV recipient list.
Step 8: Evaluate the results and adjust
Set the evaluation period before dispatch, for example until the end of the offer deadline plus two weeks of follow-up. Some recipients respond late or via a different channel than intended. Then compare the result with the goal from step 1 and the break-even point from step 4.
Three questions help with adjusting:
- Which recipient group responded well, and which hardly at all?
- Was it more down to the offer, the copy or the timing?
- What will you change for the next dispatch, and what will you keep?
Whether a change really has an effect is shown by an A/B test: two randomly formed groups get two variants that differ in exactly one point, such as the subject line or the offer. Record the findings in writing, with dispatch date, target group, variant, costs, responses and special circumstances. That way every campaign becomes the basis for the next.
Timeline: planning backwards from the delivery day
When you should plan a direct mail campaign follows from the delivery day. The table shows a timeline for a manageable campaign with your own addresses and in-house design. The periods are guideline values for mailing planning. If several departments or an external service provider are involved, allow more time.
| Time (relative to the delivery day) | Task |
|---|---|
| 8 to 10 weeks before | Define goal, main metric and target group, roughly estimate the budget |
| 6 to 8 weeks before | Compile and clean addresses and match them against the suppression list, calculate the break-even point |
| 5 to 6 weeks before | Draft offer, deadline and copy, define response channels |
| 3 to 4 weeks before | Agree design, set up landing page and codes, obtain approval |
| about 2 weeks before | Sample letter to your own address, final corrections, schedule the team for queries |
| 1 to 2 weeks before | Trigger dispatch: Dialogpost with 3 to 5 working days delivery time plus buffer, standard letters with a buffer of a few working days |
| Delivery day and the following days | Accept responses, answer queries, monitor redemption of codes |
| 2 to 6 weeks after | Evaluate, compare with goal and break-even point, record findings |
Also calculate the offer deadline from the delivery day: after the latest expected delivery day there should still be enough time to respond. Before dispatch, go through all the points with the direct mail checklist to tick off.
Running the campaign with briefsenden
Have the approved advertising letter and the checked recipient list ready before dispatch. For a CSV list use the guide Mail merge with CSV, for individual letters generated beforehand the guide combined PDF. For large advertising print runs from 5,000 items, the Dialogpost wizard takes you through the process.
Check the preview in test mode and go through the direct mail checklist before approval. Postage, letter prices and the calculation for your budget are in the cost guide.